Thursday, June 23, 2011

Conquering The Cukes!

  Cucumbers...one of the staples of the vegetable garden...and they are my nemesis....The cukes and myself go back a long way.  When I first attempted gardening a few years back, I had to make sure to throw in a few cucumber plants....spaced 6 inches or so apart...because that's what beginning gardeners do, ya know!  I watched them grow and "vine" in every direction as well as take over the poor, young dogwood tree and grow taller than myself!  Unfortunately, although I had a huge plant, my cukes were light in color, bitter, and quite frankly, gross tasting.
   So, the next year, I tried to grow them in a container....WELL, no one told me I had to "thin" the plant! I later discovered I was trying to grow about 40 plants in a 3 inch circumference!  Needless to say they bolted on the first hot day, dried out, and produced like 3 of the most retarded looking cucumbers!  I admit, I was a little disheartened to see this...

I mean WTF is this ugly, shriveled, yellow thing? To much water? Not enough? I was perplexed...So I snipped off all the yellow ones (about 4-5 on each plant) and waited....and waited...and then


DOES MY EYES DESIEVE ME? Is that a cucumber? Is it green? Is it normal shaped? YES! YES! AND YES! Oh my gosh! SUCCESS!  1 successful cucumber after many-a-plants later:) SEE!!!

Now, I know this won't break any records but for me this cuke took 5+ years to grow! A nice looking plant, with green cucumbers, that tasted good! It was the 1st "official edible" cucumber ever home grown by me:)  It was de-lish!


SUCCESS!


Sunday, May 29, 2011

All Hen's Go To Heaven...Eventually...

   So now it is time that I talk about one of my favorite succulents to grow! Hen's~and~chicks! More affectionatly called Turkey's~in~a~Basket around here:)  These fun little flowers will be sure to keep you entertained and surprised throughout your time together!
  I started growing them in random containers 2 years ago, and according to what I had read, it seemed the more you left them alone the better they did!  It went against my "gardener's grain" to not water or fuss over them to much but as soon as the cold weather hit they were on there own!  Here is what they looked like when I first purchased them.
 Adorable aren't they?  I fell in love with the 1 Hen and all of her little chicks:)   I used pea gravel and Dollar General potting mix because the don't require many nutrients...and hey, cheaper the better!  I put them in there new home and left them on my back deck, recieving a good 6 hours of sunshine and water only when in rained.
 Now, all of a sudden this summer, I noticed that my mama Hen was starting to do something a little strange. So where did I head? Google...
At first, it looked like a little cactus-type plant was growing out of the center.  I soon discovered ( thank you google) that mama-hen is in her final season of life and that these plants will bloom a single shoot out of their center to signify this.


  At the center of the stalk, the soon to be flower blooms are just beginning to emerge.
 These stalks and blooms can grow to be quite large ( 2 feet at times!) or be rather short.  Again, just another interesting thing this plant does!


  Now, I must admit that when I first heard that this was the final season for mama-hen, I was just a tad sad for she was my first.  But, mama-hen has produced so many chicks for me and their chicks have had chicks that she is going out a great-great-grandma and should be proud!

  Unfortunately, these are the most recent pics that I have.  I will take more throughout her last season and she will hopefully give me one last hurrah in a beautiful flower!  Knowing myself, I will probably try and collect the seeds and become my own mama-hen:)  hmmmm...I'm feeling another possible google search!

Friday, May 27, 2011

Marigolds

   Marigolds...what can I say...they are non-fussy, hardy, bountiful, and so very easy to grow! They are what I would consider a great flower to try anywhere, weather it be in the ground or in a container.  I have read that these little beauties help to attract all the good insects and help repel a lot of the nasty little critters that tend to be bothersome to the in-ground garden.  Although nothing can really compare to a barbed wire fence for squirrels and rabbits, marigolds can add an attractive border to any garden at the same time keeping pesky above and under-ground critters at bay.

   This year, my goal was to start as many things from seeds as I possibly could (due to the $200 tiller and $100  soil ammendments that were needed to start an inground garden this year.)  Anywho, for less than a dollar I was able to purchase quite  a few packets of marigold seeds in a few different varieties. 


  Above is a pick that was started from seeds around the middle of April.  I decided to do a few different kinds of containers as well as in-ground garden borders.  This is a wooden box filled with peat moss, potting soil, and top soil.  They are pretty close together and need to be watered about every 2 days unless it rains alot.  Fortunately, I have discovered that if they need water, I tend to water them at night (around 7pm).  This seems to make them very happy for the next few days regardless of the weather!  Because they are so close in proximity and tend to need water every couple of days, I have discovered that they don't need any more than 3-5 hours of direct sunlight so it's a perfect idea to boost a mildly sunny location!  I would say to test the soil for moister but marigolds have a pretty crappy poker face...if they are thirsty, they will let you know!  It won't take a botanist to figure it out that they are thirsty and need a little drink!
 

Thursday, May 26, 2011

Tangling With The Tomato's

  As promised, I intended to show you some of the more humorous mistakes that I have made along the way as a "gardener."  A few years back, I decided to plant an entire garden in containers and give container gardening a whirl.  I did the research...google of course:)....found the varieties of plants that seemed to do well in pots...and I was on my way to a wonderful container garden right on my back porch! Sounds great huh? It was a ton of fun to grow all sorts of new veggies and herbs that I had never grown before. I have discovered that no matter how many websites you visit, books you buy, or pictures you look at, experimenting on your own is the best teacher on how plants grow.

   So for my 1st container gardening experiment, I started with the good ol trusty tomato plant.  Hybrid, disease resistant, compatible in a container...all the best qualities for a successful crop!  And as a firm believer that every plant should have a "friend" (i.e. companion plant) I thru in a basil plant that I purchased from Lowes.  At the time, the basil towered over the tomato plantS...yes yes...that 1 little leaf you see on the side is indeed a tomato plant buried 3/4's of the way down!
 

2 Tomato plants and a Basil


   Although small and a little skraggly, it looks pretty ok huh?  I put them in a big plastics bucket (10 gallons, I think) and miracle grow potting mix, because Hey...it ain't called miracle grow for no reason!

   A couple of weeks later it looked even better!

Both tomato plants took off without a hitch and I kept pinching the basil to give it a very leafy look! I ended up wasting a lot of basil leaves in the beginning, but trust me, it is worth it to pinch them off in the beginning to keep a constant, steady supply throughout the spring and summer! Not to mention a huge, gorgeous, wonderful smelling herb!  And weather you believe in companion planting, I assure you the sweet basil will give your tomato's the most amazing taste!

   After another couple of weeks, the tomato plants had finally gotten taller than the sweet basil! It was a monumentous moment for me because the plant was growing fast, looking healthy, and had finally grown larger than the basil! I was stoked!


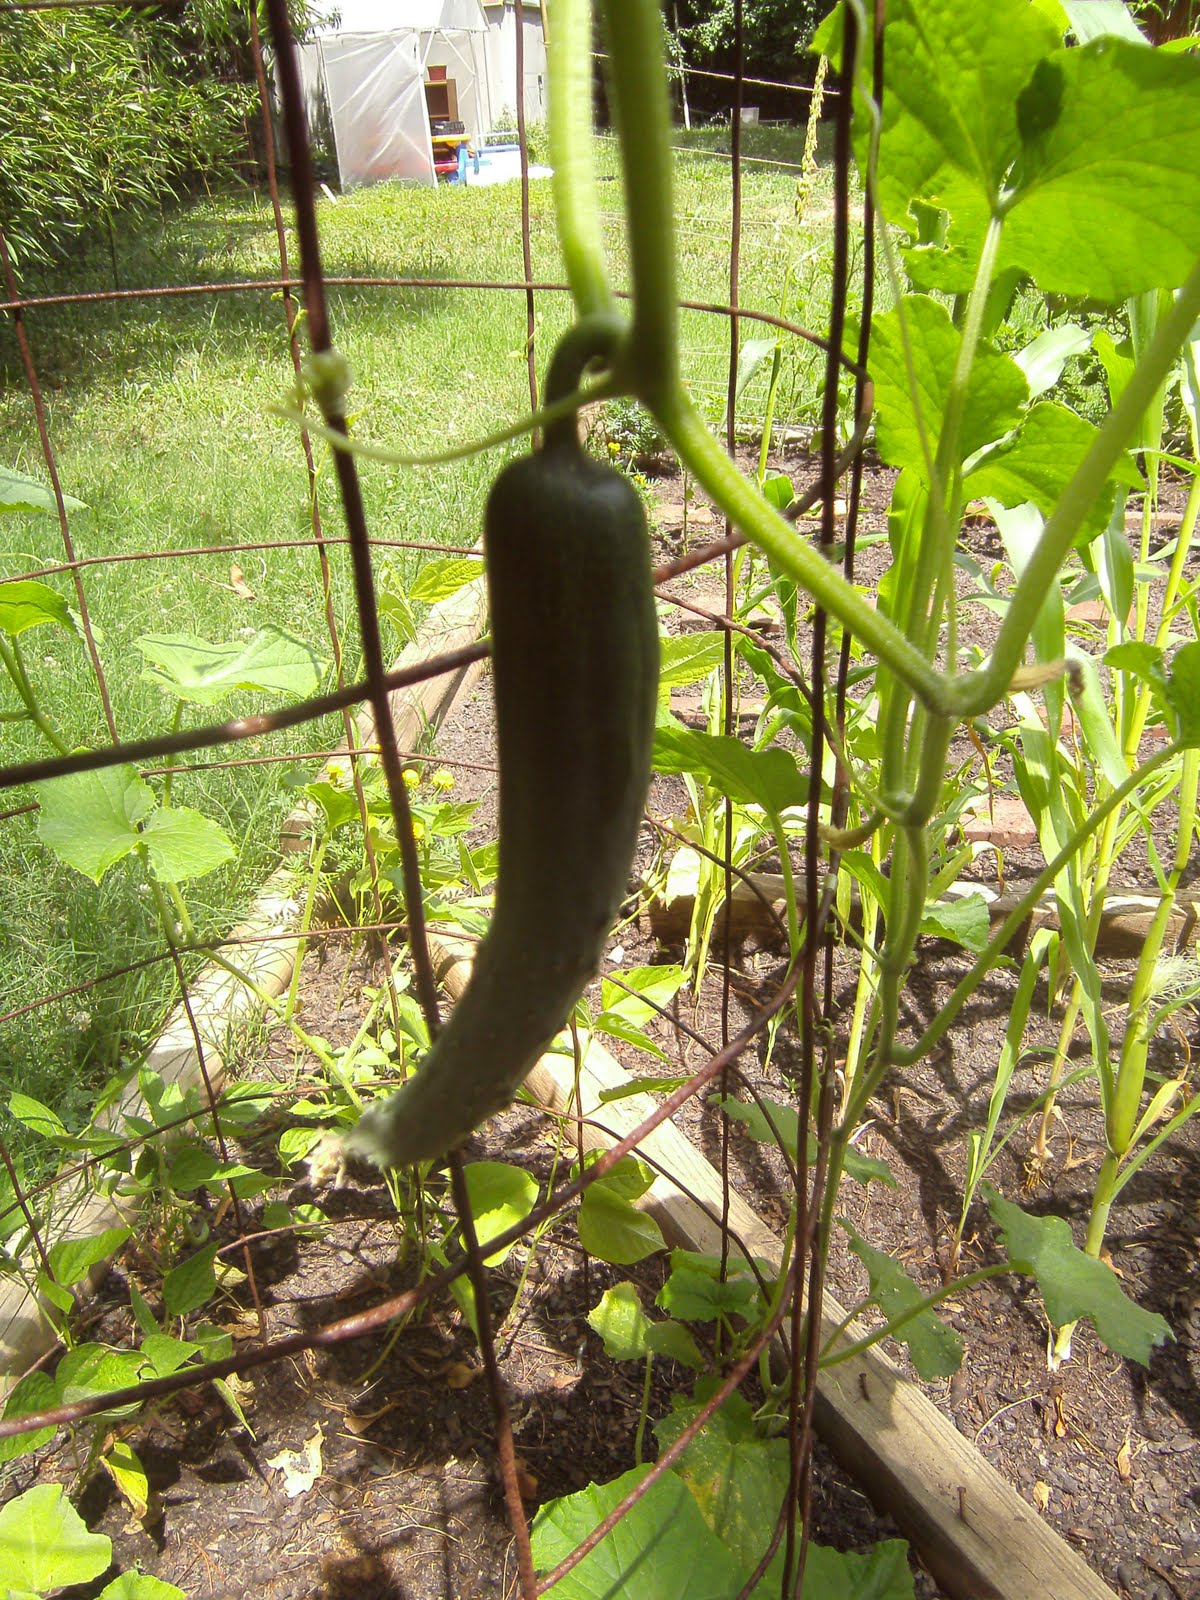
   To my utter amazement the plants just kept growing and growing!  My tomato plants in the yard had never taken off with such a zest! I was totally hooked on this container gardening thing! 

   After another few weeks, I felt like I had the prettiest little container of tomato's and herb!  All 3 plants were doing wonderful, looking happy, and producing the beginnings of a plentiful crop!


  Now...the next few pictures are a little graphic... and... well, quite honestly may hurt a little to other gardeners. They do me....I guess the plants did a little too well.  But remember, I was totally new to this whole container thing!  I hope your ready for this....


  I KNOW RIGHT! WHAT HAVE I DONE!  WHERE DID MY PRETTY PLANTS GO? HOW DID THIS HAPPEN?  WHAT THE HECK IS THAT TANGLED MESS? Well, let me tell you something... these plants grew alot more than I thought they would.


  Those plants grew up and over the deck rail and almost to the ground on the other side!  Although it wasn't the nicest looking container plant, these babies easily produced 200+ tomato's that season!  I realized my mistake was not only underestimating how large plants become but not establishing any support structure what-so-ever...MY BAD!
   Wrapping this up, I hope that you have learned from just a few of my many mistakes! Never underestimate how big those plants may get. Start a suppost structue before you put your plants into their container homes.  They do not need to be expensive.  A stick of bamboo is what I know use to support most of my plants.  It grows in my yard, needs to be kept in check, and is free so bamboo has become my anchor of choice:)

Happy Gardening! And Don't Be Afraid To "Tangle" With Your Tomato Plants!
    

Sunday, May 22, 2011

The GreenHouse


My 2011 Mother's Day Gift!
Made out of  an old lawn umbrella, PVC piping, and plastic, it was made even more special because my hubby and kids surprised me with it when I came home from work!

A Garden Begins

   A few years ago when my son was in pre-school, he brought home a yarrow as a Mother's Day gift.  Attached to it was a precious poem about children and growing up and how this flower represented me and my son.  With eagerness he told me about how they had grown them from seed, watered them diligently and watched the seeds sprout on their classroom windows.  He also informed me that the styrofoam cup that currently was the flowers birth-home was not a suitable enviorment for very much longer and a transplant was going to be needed....."shit...the only thing I was ever good at growing was....well nothing..." I had even managed to kill one of those teeny, tiny Cati's before...ya know, the ones that just need to be left alone and they will thrive? "Bull!"
   Luckily, I had a secret weapon in my hand that I had never had before when it came to keeping plants alive...GOOGLE!!!  Moments after promising my son that we would plant it in a "garden" I hopped onto google and started searching.  After acquiring adequate info about the soil yarrows like, sunlight they require and other facts, my son and myself marched out to our designated spot and planted our 1 yarrow plant! HOOP-LAH!  Of course afterwards it looked rather lonely out there all by itself...so...back to google!
  From there it was a done deal! I had successfully kept my mothers day so happy for years that it went from a 1 stalk plant to completly surrounding the tree it has been planted by! Within 2 years I could have picked 50 yarrows at any given time in any arrangment of colors!
   As time has gone by, I have tried (and sometimes failed) to grow things in a variety of ways.  Soon  pics will be coming of this years garden and ideas!

Happy Growing!
Related Posts Plugin for WordPress, Blogger...